String Art
Hammering
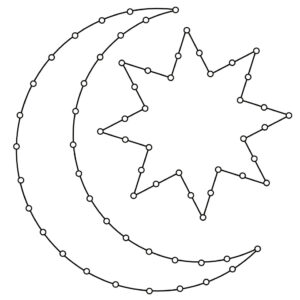
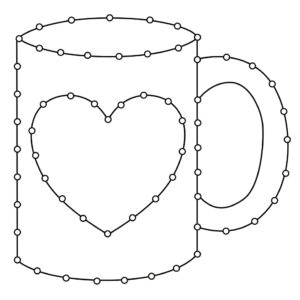
Your first step is deciding upon a design. A number of templates were included in your kit. There are also templates available for download on this page. Or you can create your own design (which is very encouraged). If you use a paper-based template, lay it directly on your board and hammer your nails through the paper and into the block. Below are a few tips:
- The nails should enter approximately halfway into the wood.
- Avoid placing nails too close to the edge as the wood may splinter.
- Nail positions included on the templates are suggestions only. Alter as you see fit.
- After all nails are in place, tear off the paper template before adding string!
Stringing
There are many approaches you can take when stringing your nail pattern, but we focus on three main methods. Feel free to experiment with these strategies—or enjoy inventing your own!
- Random Fill – While this is the easiest of the approaches, it provides a very satisfying and professional result that doesn’t require extreme attention to detail. With this method you fill a space with a colored thread by “randomly” going back and forth between nails that form the border of the shape you’re filling until you get a nice, even fill. Note that the more nails that form your border, the smoother the coverage that you can achieve.
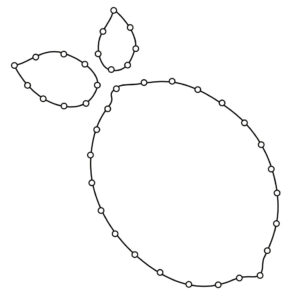
- Fan Fill – The fan fill requires a bit of planning, and it only works well within spaces where a single bordering nail can form a straight line to every other bordering nail. That nail is your starter nail. You tie a string to that starter nail then wrap it around the nail next to it and back again. Then you go to the next nail down the line and return to your starter nail. You do this all the way around the border of your space. This works best for larger open spaces (as in the lemon template below). Optionally, you can choose to do a second overlapping fan pattern using a different nail as the starter nail.
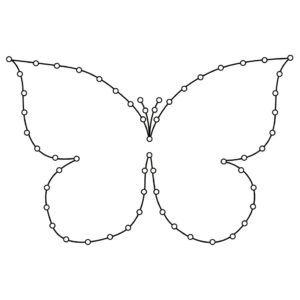
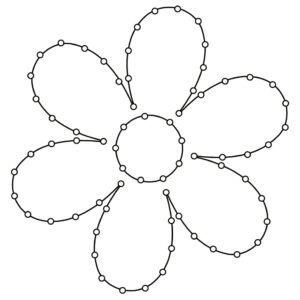
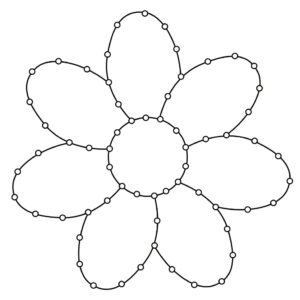
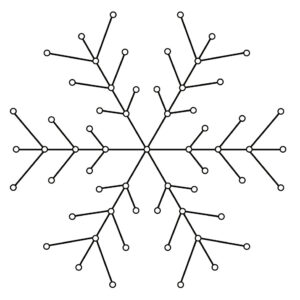
- Create a Line – Sometimes you don’t need a fill at all. You can simply “trace” the border created by the line of nails. The snowflake template below is the perfect candidate for a line-only string art. But lines can also be added for detail work and to emphasize the borders of fills you’ve created. For example the antennae of the butterly below requires line work. Or you could choose to outline the border of a flower template after it has been filled. This creates a sharp edge for your piece. Just remember to do your line work as the final step so that it will be on top of any fills.
Download Templates